 DocIT Server
Windows Platform
For mPower applications:
DocIT
Describes platform configuration and software installation for DocIT on a Microsoft Windows/Tomcat server.
This document includes instructions for setting up a DocIT (dx Generation) server to use in conjunction with the mPower application ChannelIT. To set up a client computer to use the dx Generation software as part of the standard LeasePak client, refer to the document LeasePak Client.
This document assumes you have a working knowledge of Java and Tomcat. Contact your NetSol representative for assistance if needed.
Preparation
System Requirements
Review the system requirements for DocIT Server before beginning the installation.
DocIT User
The dx Generation software is a component of the LeasePak client software, so you will need a LeasePak client user for the DocIT server. You can use the Web Services API user (LinkIT user) for this purpose, or you can create an additional LeasePak client user. Refer to the LeasePak and mPower Users document for more information.
Java Installation and Configuration
Download Java (J2SE v SDK). For Microsoft Windows, you can download the software from Sun Microsystem's Java Technology (Sun Developer Network) site (java.sun.com).
To install Java:
- Run the j2sdk setup program. The installer may take a few seconds to load, then it will display the License dialog box
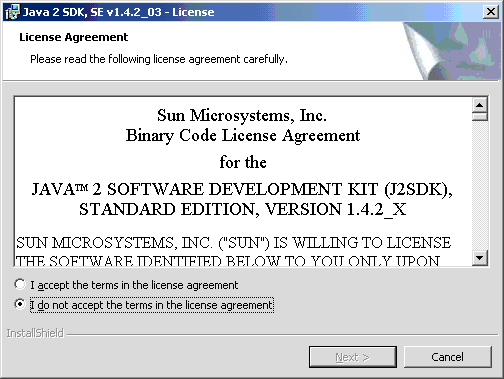
Read the agreement, select I accept the terms in the license agreement, and click Next.
- The installer displays the Custom Setup dialog box
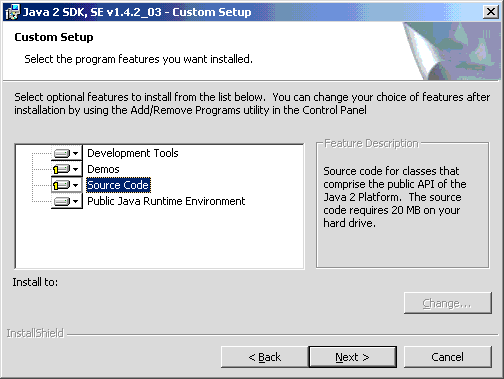
Clear the selection of Demos and Source Code (you will not need these) and click Next.
- The installer displays the Browser Registration dialog box
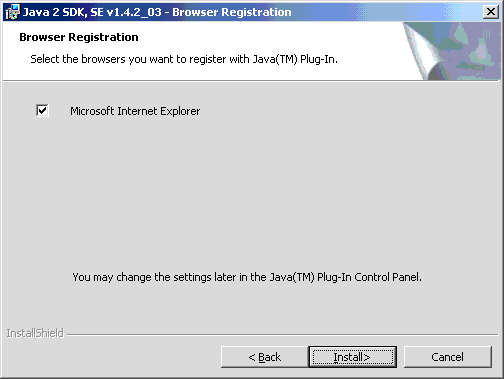
Accept the default and click Install.
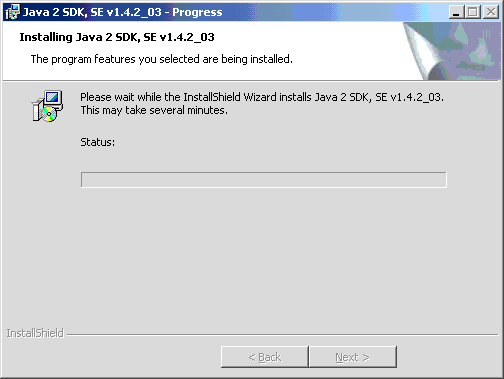
- The installer displays the Progress dialog box while it installs the software
- After finishing the installation, the program displays the Complete dialog box
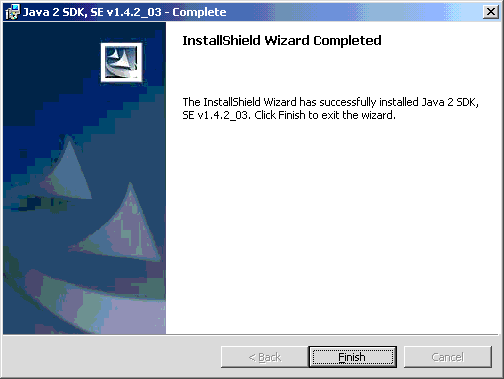
Click Finish and restart your system to complete the installation.
After restarting your system, you will need to add the variable JAVA_HOME to your system variables:
- In the Windows Control Panel, select System, then click Advanced
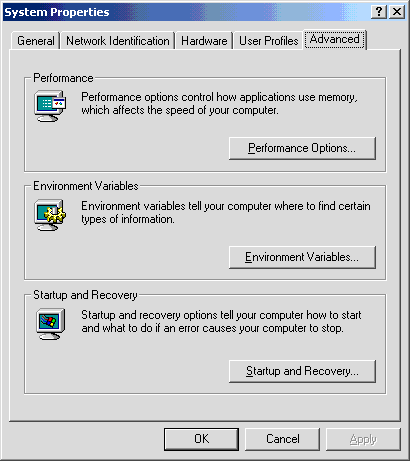
Click Environment Variables
- The utility displays the Environment Variables dialog box
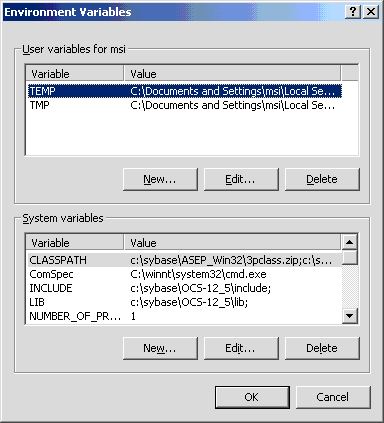
In the System Variables section, click New
- The utility displays the New System Variable dialog box
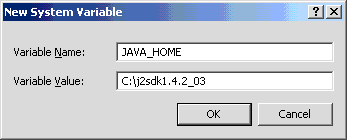
For Variable Name, type JAVA_HOME. For Variable Value, type the full path to the Java home directory
- If the system variable
CLASSPATHexists, addJAVA_HOME\lib\tools.jarto the end, where JAVA_HOME is the full path of the Java home directory as specified in the previous step. If the variableCLASSPATHdoes not exist, add it using the same method as steps 2 and 3, usingJAVA_HOME\lib\tools.jaras the Variable Value.
Tomcat Installation and Configuration
Download Tomcat 4 (version ) from the Apache Tomcat (Apache Jakarta Project) site (jakarta.apache.org/tomcat).
For ease of installation, place the jakarta-tomcat installer and j2sdk setup program in the same directory.
To install Tomcat:
- Run the jakarta-tomcat setup program. The installer displays a message similar to the following
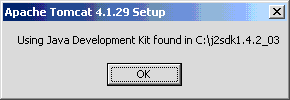
Click OK
- The installer displays the License Agreement dialog box
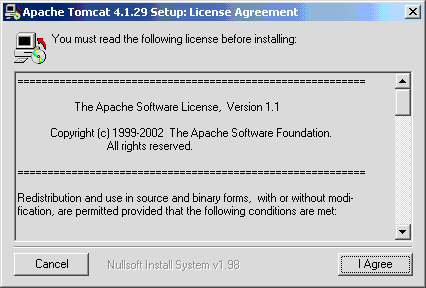
Read the agreement and click I Agree
- The installer displays the Installation Options dialog box
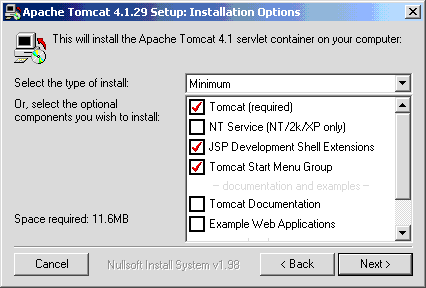
Do not select NT Service. Tomcat Documentation and Example Web Applications are optional. Select the options as shown and click Next
- The installer displays the Installation Directory dialog box
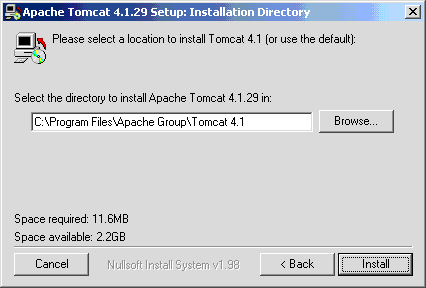
Accept the default and click Install
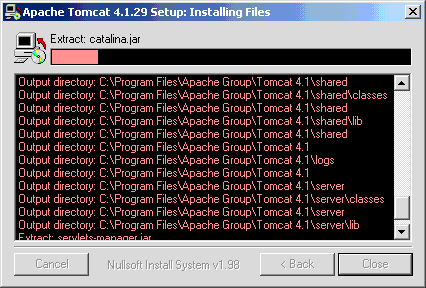
- The installer displays the Installing Files dialog box and installs the software
- The program displays the Testing Installer Options dialog box
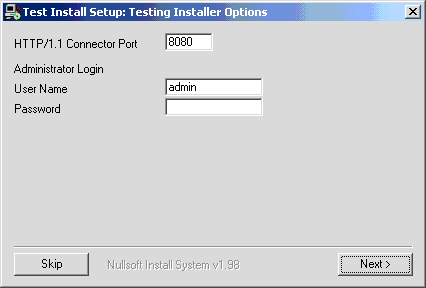
For HTTP/1.1 Connector port, accept the default (8080) or type another port number if 8080 is in use. Type the Tomcat administrator's user name and password and click Next
- The installer displays the Completed dialog box
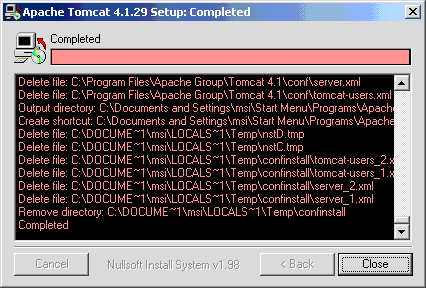
Click Close to finish the installation.
You must log on the DocIT server as a real user with access to Tomcat, Microsoft Word, and dx Generation. Windows, and in particular Microsoft Word, will only allow a program to invoke ActiveX objects if a real user is running it.
After installing Tomcat, you will need to add the variable CATALINA_HOME to your system variables.
CATALINA_HOME represents the root directory of the Tomcat installation on your machine:
- In the Windows Control Panel, select System, then click Advanced
Click Environment Variables
- The utility displays the Environment Variables dialog box
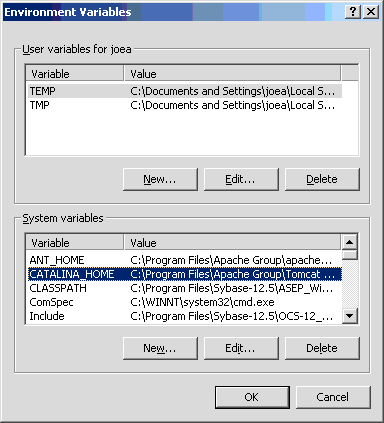
In the System Variables section, click New
- The utility displays the New System Variable dialog box
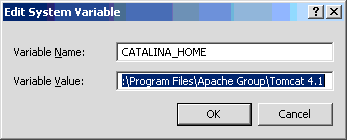
For Variable Name, type CATALINA_HOME. For Variable Value, type the full path to the Tomcat home directory.
 Note Tomcat's host address and listening port. You will
need these later when configuring the
Note Tomcat's host address and listening port. You will
need these later when configuring the web.xml file on the mPower server.
dxGen Web Service Installation and Deployment
To install and deploy the dxGen web service:
- Contact your NetSol representative to obtain a copy of the
dxGen-.warfile. - Place the file in your tomcat_root_dir
/webappsdirectory, where tomcat_root_dir is the root directory of the Tomcat installation on your machine. - Start Tomcat. In the Windows Start menu select Apache Tomcat, Start Tomcat. The dxGen web service should deploy within a minute or so.
Adobe Acrobat: Distiller Configuration
Adobe Acrobat 6.0 Professional is a software product of Adobe Systems Incorporated. Obtain a copy of the software and install it according to Adobe's instructions.
After installing Acrobat, configure Distiller:
- In the Windows Start menu, select Adobe Distiller
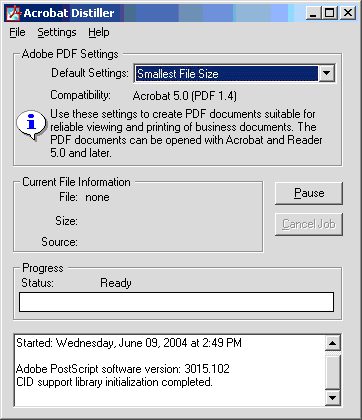
For Default Settings, select Smallest File Size.
- In the Distiller File menu, select Preferences
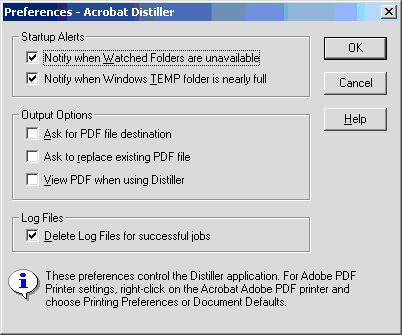
Select Notify when Watched Folders are unavailable, Notify when Windows TEMP folder is nearly full, and Delete Log Files for successful jobs, then click OK.
- In the Windows Start menu, select Settings, Printers
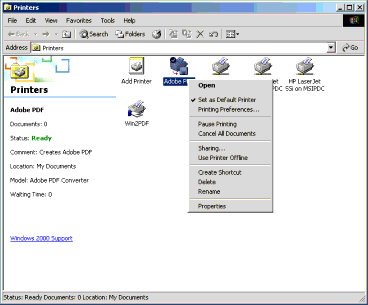
- Right-click Adobe PDF and set it as the default printer
- Right-click Adobe PDF and select Properties, Ports
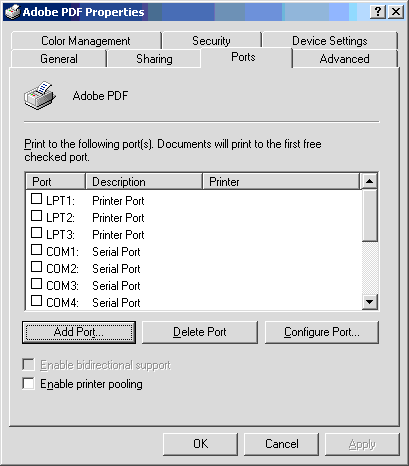
If needed click Add Port to add an entry for printing to file. The utility displays the Printer Ports dialog box
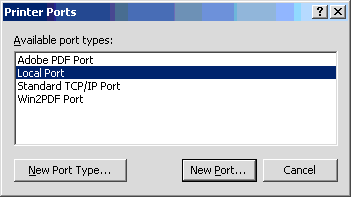
Select Local Port and click New Port. The utility displays the Port Name dialog box
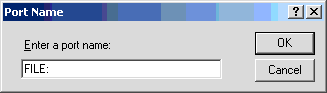
Type FILE: and click OK
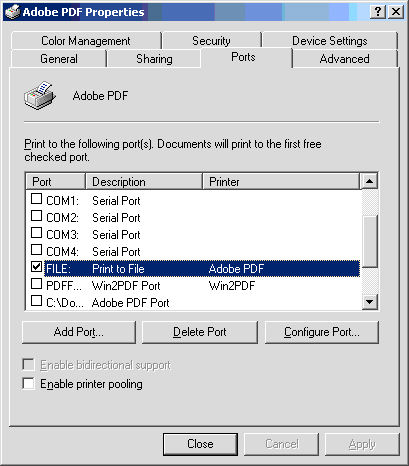
- In the Properties box, Ports tab, select FILE: Print to File. If any other ports are selected, clear the selections
- In the Properties box, select Advanced
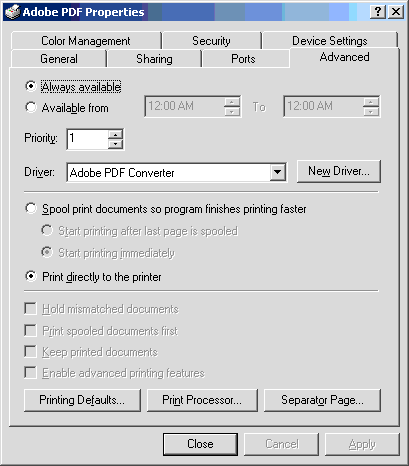
Select Always available and Print directly to the printer. For Priority, set to 1. For Driver, select Adobe PDF Converter
- Right-click Adobe PDF and select Printing Preferences, Adobe PDF Settings
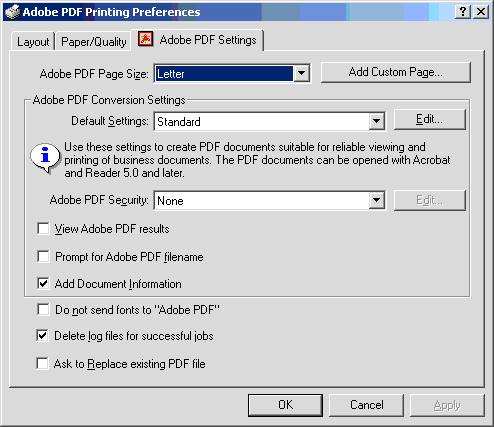
For Adobe PDF Page Size, select Letter. For Default Settings, select Standard. For Adobe PDF Security, select None. Select Add Document Information and Delete log files for successful jobs.
dx Generation Installation and Configuration
- LeasePak Client Custom Installation
- Install the LeasePak client software using the Custom option, and include dx Generation in the installation.
- Registration Codes for dx Generation and Print Spy
- To activate dx Generation (and it's companion Print Spy), you will need the appropriate registration codes. Log on the LeasePak
server as
msiadminand run the following command to obtain the codes:$uexe/lpadriver.exe /ver
- Required mpower Task in dx Generation
- When setting up dx Generation, you must create a task called mpower (all lowercase) in order for the DocIT and mPower servers to work with each other.
- DocGen Templates and Setup in LeasePak
- Once you've set up your DocIT and mPower servers, you will also need to setup Document Generation (DocGen) in LeasePak and create templates for your automated documents.
To finish configuring the dx Generation software,
continue with the document dx Generation.
LeasePak Documentation Suite
©
by NetSol Technologies Inc. All rights reserved.
The information contained in this document is the property of NetSol Technologies Inc. Use of the information contained herein is restricted. Conditions of use are subject to change without notice. NetSol Technologies Inc. assumes no liability for any inaccuracy that may appear in this document; the contents of this document do not constitute a promise or warranty. The software described in this document is furnished under license and may be used or copied only in accordance with the terms of said license. Unauthorized use, alteration, or reproduction of this document without the written consent of NetSol Technologies Inc. is prohibited.