LeasePak Client Installation
LeasePak Client Installers
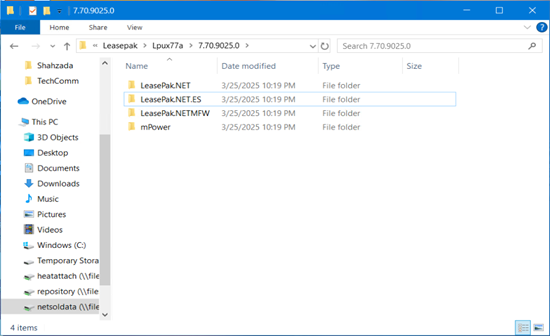
There are three different installers available to install LeasePak client:
The steps for installation are same. The Encrypted and Signed option will only add a new tab in leasepak.exe file properties as "Digital Signature".
Setup Program
LeasePak Setup from CD or Network
Close all other Windows programs prior to running the setup.
Log on the client computer as Administrator or other user with Administrator privileges. The installer requires Administrator privileges to correctly write to the registry and the systems directory.
The path of client installation software is:
\lpux77a\software\lpclient\Installer.msi
To install LeasePak directly from the CD or over your local network, do one of the following:
- double click path\lpux77a\software\lpclient\Installer.msi in Windows Explorer, where path is the CD-ROM drive or network location
- select Run from the Windows Start menu, then type path\lpux77a\software\lpclient\Installer.msi (where path is the CD-ROM drive or network location) and click OK
The installer displays the following:
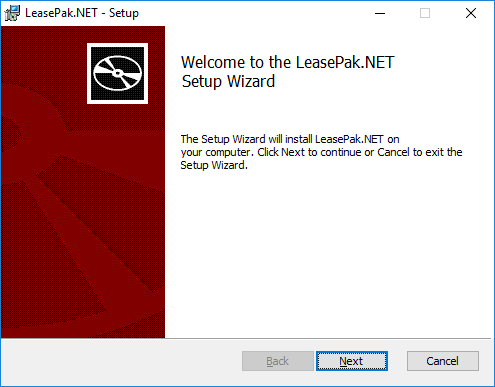
Click Next to begin the installation.
Destination Folder
Accept the default destination folder or change to another destination folder and click Next.
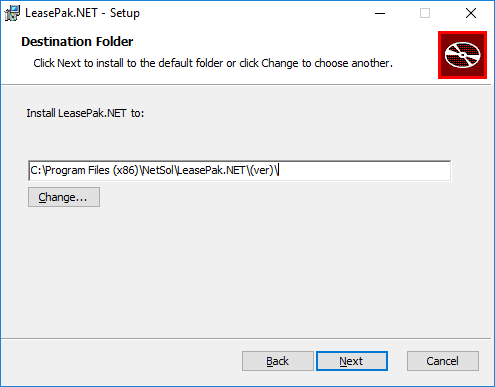
NetSol recommends installation to the default folder. To change the destination folder, click Change. The following dialog box appears:

- Look in
- Use to browse for the desired destination folder.
- Folder name
- Enter a new path or new folder name. If you have other versions of LeasePak installed, NetSol recommends creating a new, version-specific folder (such as v77a) for this installation.
Click OK to use the specified destination folder. The installer returns to the previous dialog box:
Click Next to continue.
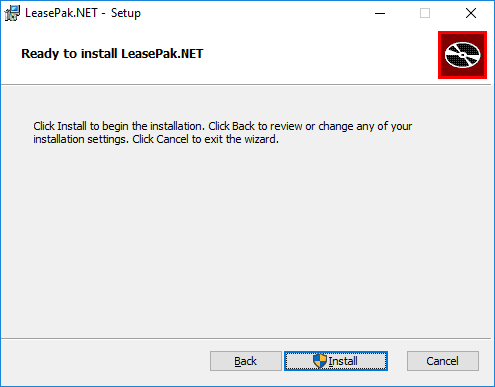
Ready to Install LeasePak.NET
Click Install to begin the LeasePak client software installation.
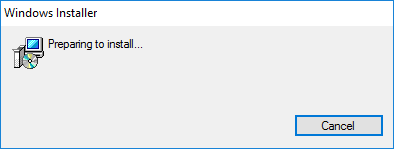
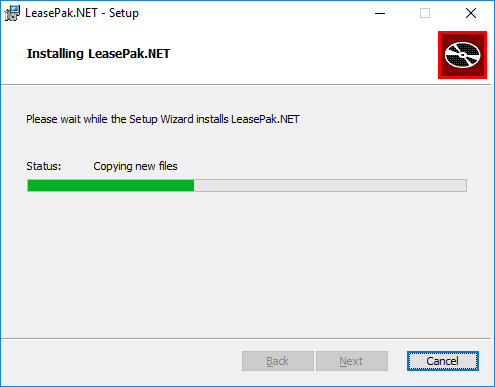
The following dialog box displays information on the progress of the installation. Wait for the installer to finish, or click Cancel at any time to abort the installation.
When the installation is finished, the following dialog box appears. Click Finish to exit the installer.
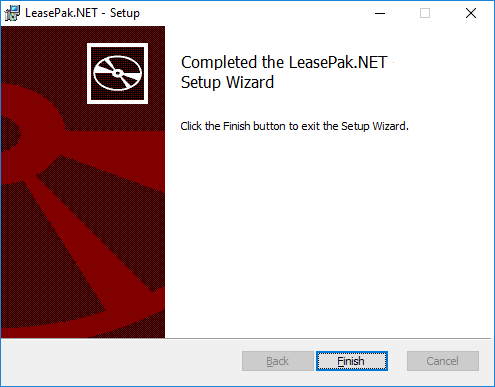
You must restart your computer before using LeasePak.
Encrypted and Signed
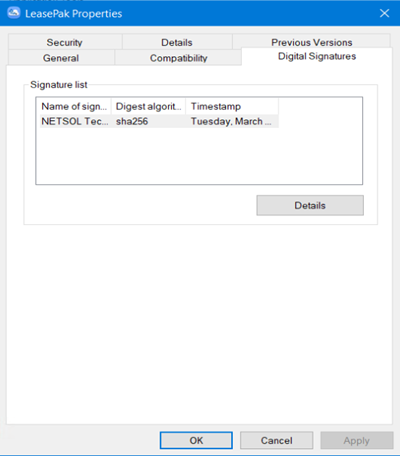
NETSOL utilizes Microsoft Trusted Signing Certificate for digitally signing the unsigned binaries and dll’s and Dotfuscator for encryption to enhance the security.
Once user installs the Encrypted and Signed LeasePak client they will get a new tab "Digital Signature" for leasepak.exe and dll's. The Digital Signature option will be available in the installed leasepak.exe file properties. The same security applies to dxGen as well.
© 2026 NETSOL Technologies. All rights reserved.
The information contained in this document is the sole property of NETSOL Technologies, Inc. Use of the information contained herein is restricted. Conditions of use are subject to change without notice. NETSOL Technologies, Inc. assumes no liability for any inaccuracy that may appear in this document nor does it have the obligation to update any of the information contained herein; the contents of this document do not constitute a promise or warranty. The software described in this document is furnished under license and may be used or copied only in accordance with the terms of said license. Unauthorized use, alteration, or reproduction of this document without the written consent of NETSOL Technologies, Inc. is prohibited.
The information contained in this document is the sole property of NETSOL Technologies, Inc. Use of the information contained herein is restricted. Conditions of use are subject to change without notice. NETSOL Technologies, Inc. assumes no liability for any inaccuracy that may appear in this document nor does it have the obligation to update any of the information contained herein; the contents of this document do not constitute a promise or warranty. The software described in this document is furnished under license and may be used or copied only in accordance with the terms of said license. Unauthorized use, alteration, or reproduction of this document without the written consent of NETSOL Technologies, Inc. is prohibited.