Cashier's Check [U0110]
Contents
Introduction
The Cashier's Check update is used to add, change or delete cashier's check information. It may be used along with the Cashier's Check Disbursal update [U0117] to generate checks. Only checks added through the Cashier's Check update [U0110] may be changed or deleted.
The update interfaces directly with LeasePak's check writing capability; care should be taken when designating user access to this update. Security access should probably be restricted to a few senior people. Session dollar assignments are not required for [U0110].
This update places check information on the Check (RCK) file. The Cashier's Check Disbursal update [U0117] subsequently generates a check register and, if GENERATE CASHIER'S CHECKS on the Miscellaneous Customizations option of the Portfolio update [U0212] is set to Y, it also formats the checks. Disbursal may be run automatically through the End of Day process [U0401] or interactively through the Cashier's Check Disbursal update [U0117].
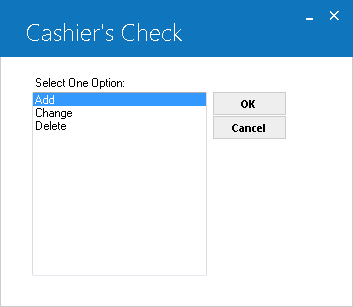
This screen is used to select the Cashier's Check update [U0110] option.
- ADD
Adds a check to the Cashier's Check (RCK) file. - CHANGE
Changes check information for a check that was input through this update only. Checks created by other updates (e.g., New Lease [U0101], Payoff [U0103], etc.) may not be changed. - DELETE
Deletes a check from the Cashier's Check (RCK) file if entry was input through this update. A cashier's check entered through another update may not be deleted.
Add Cashier's Check
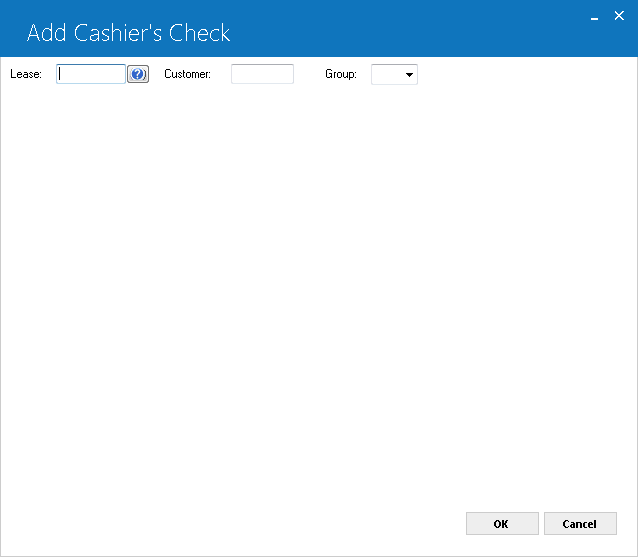
- LEASE
Enter the lease number for the cashier's check. Leave blank to select a customer and group number.
- CUST
Enter the customer number for the cashier's check. Leave blank to select a lease number. If a customer number is entered, a group number must be entered.
- GROUP
Enter the group number for the cashier's check. Leave blank to select a lease number. If a group number is entered, a customer number must be entered.
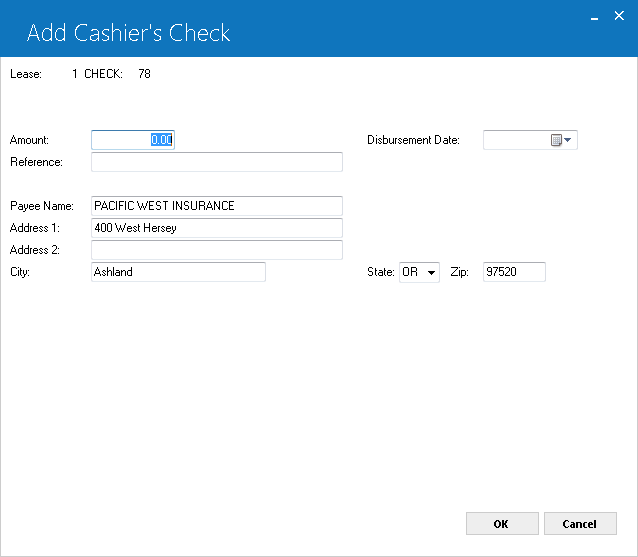
This screen is used to add a cashier's check. The check number is automatically determined and displayed. This number is an internal number only; it does not necessarily correspond to the actual check number at disbursement. If a lease number is entered on screen 1, the lessee name and address are displayed as payee. If a customer/group number is entered, the group name and address are displayed.
- AMOUNT
Enter the amount of the cashier's check.
- DISBURSEMENT
DATE
Enter the disbursement date in MM/DD/YY or DD/MM/YY format, depending on the Date Format Preference field in Security [U0706]. The date must be on or after the current date.
- REFERENCE
Enter a reference or comment to be printed on the check register and on the stub of the formatted check.
- PAYEE
NAME
The name of the payee is displayed. Change it, if desired.
- ADDRESS 1/2
The address line(s) of the payee are displayed and may be changed.
- CITY
The city of the payee is displayed and may be changed.
- STATE
The state of the payee is displayed and may be changed. STATE must be a valid post office abbreviation.Note: For locations where states do not exist, a "free form" code of FF may be entered. When addresses using FF are printed on invoices or reports, the state is blank.
- ZIP
If needed, add or change the postal/zip code of the payee, up to 9 characters maximum length. LeasePak expects specific postal code formats for the US, Canada, and several other countries. Refer to Postal Code Formats (opens in a new window) for more information on specified formats. - CHECK
NUMBER
Enter the internal check number of the cashier's check. Leave blank to select a lease or customer/group number.
- LEASE
Enter the lease number for the cashier's check. Leave blank to select an internal check or customer/group number.
- CUST
Enter the customer number for the cashier's check. Leave blank to select an internal check or lease number. If a customer number is entered, a group number must be entered.
- GROUP
Enter the group number for the cashier's check. Leave blank to select an internal check or lease number. If a group number is entered, a customer number must be entered. - AMOUNT
Change the amount of the cashier's check, if desired. - DISBURSEMENT DATE
Change the disbursement date of the check in MM/DD/YY or DD/MM/YY format, depending on the Date Format Preference field in Security [U0706], if desired. It must be on or after the current date. - REFERENCE
Change the comment or reference for the check, if desired.
- CHECK NUMBER
- The internal
number of the selected check is displayed and may not be changed.
- PAYEE
NAME/ADDRESS/CITY/STATE/ZIP
Change the payee name and/or address, if desired. - CHECK
NUMBER
Enter the internal check number of the cashier's check. Leave blank to select a lease or customer/group number. - LEASE
Enter the lease number for the cashier's check. Leave blank to select an internal check or customer/group number.
- CUST
Enter the customer number for the cashier's check. Leave blank to select an internal check or lease number. If a customer number is entered, a group number must be entered.
- GROUP
Enter the group number for the cashier's check. Leave blank to select an internal check or lease number. If a group number is entered, a customer number must be entered. - IS THIS THE
CORRECT CASHIER'S CHECK TO DELETE (Y/N)?
If Y is entered, the check is deleted when RETURN is pressed.
Change Cashier's Check
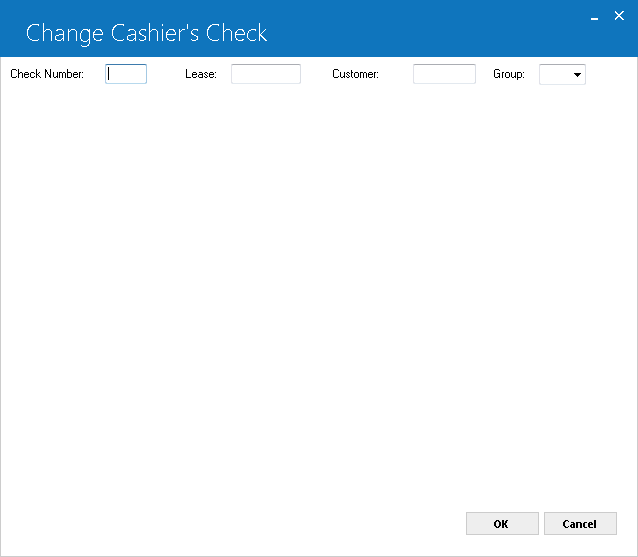
This screen is used to select a check to be changed. Only checks which were added through the Cashier's Check update [U0110] may be changed. A check may be selected by entering either the account (lease or customer/ group) number or the internal check number assigned when the check was added. If a lease or customer/group number is entered, each check matching that account number is displayed until one is selected to be changed.
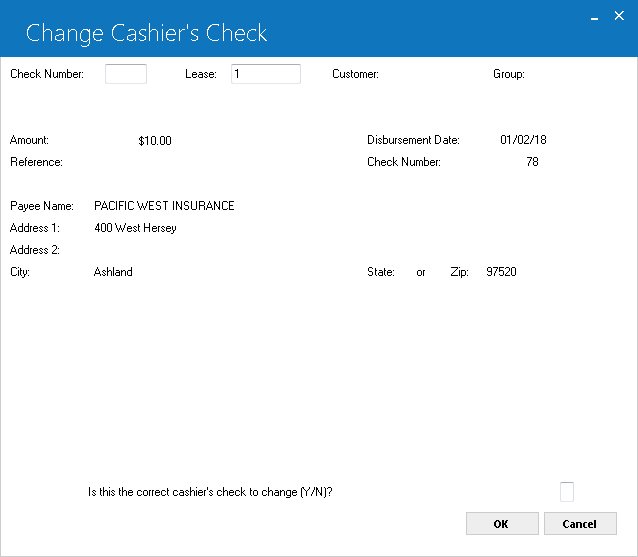
This screen is displayed only if a lease or customer/group number is entered. Information for the first check matching that number is displayed. If it is the correct check to change, enter Y and the next screen is displayed. If it is not the check to change, enter N and the next check matching the lease or customer/group number, if any, is retrieved and displayed.
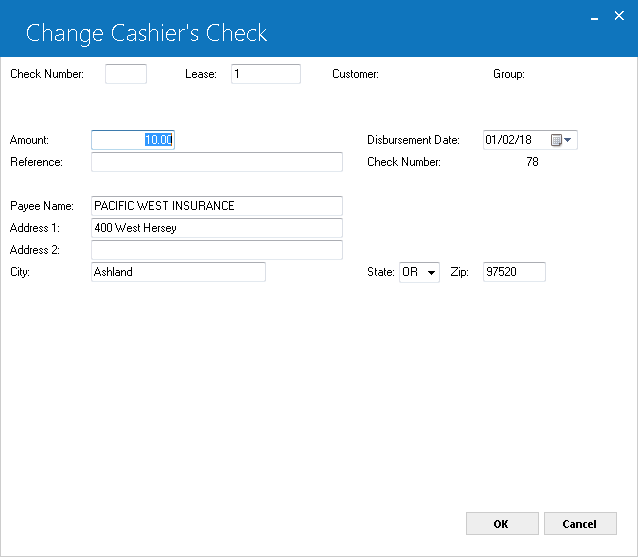
This screen is used to change the selected cashier's check.
Delete Cashier's Check
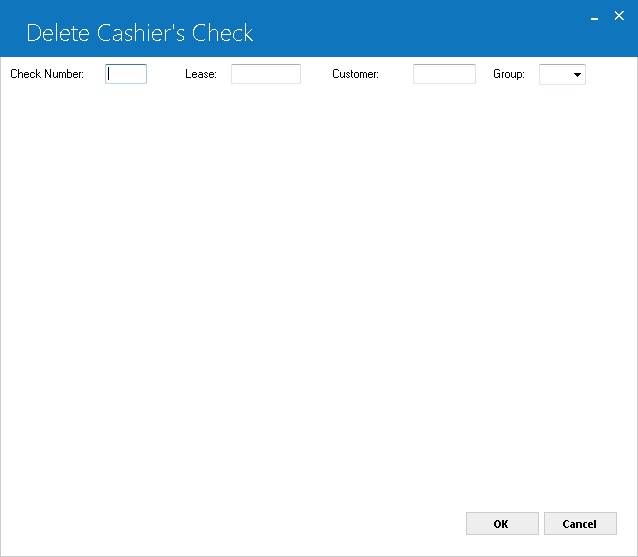
Only a cashier's check that was added through the Cashier's Check update [U0110] may be deleted. A check may be selected by entering either the internal check number assigned when the check was added or a lease or customer/group number. Internal check numbers may be found on the Cashier's Check Listing report [R0205]. If a lease or customer/group number is entered, each check matching that account number is displayed until one check is selected as the one to be deleted.
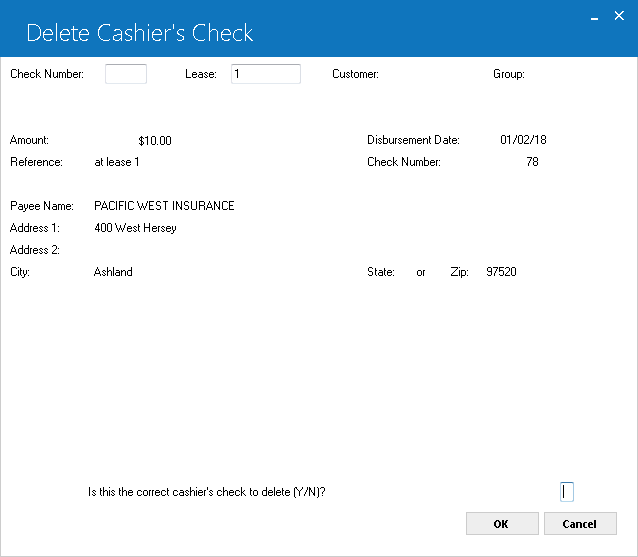
This screen is used to verify that this is the correct check to be deleted. If a lease or customer/group number is entered, the information for the first check matching that account number is displayed. If it is not the correct check to delete, then the next check matching the entered account number, if any, is retrieved and displayed.
LeasePak Documentation Suite
©
by NetSol Technologies Inc. All rights reserved.
The information contained in this document is the property of NetSol Technologies Inc. Use of the information contained herein is restricted. Conditions of use are subject to change without notice. NetSol Technologies Inc. assumes no liability for any inaccuracy that may appear in this document; the contents of this document do not constitute a promise or warranty. The software described in this document is furnished under license and may be used or copied only in accordance with the terms of said license. Unauthorized use, alteration, or reproduction of this document without the written consent of NetSol Technologies Inc. is prohibited.