Software Modification, Repair, and Removal
The installer allows the user to Modify, Repair or Remove LeasePak and/or the additional components included in the set up.
From the Control Panel, select the Add/Remove Software. The following screen will appear: Select LeasePak from the list of installed programs.
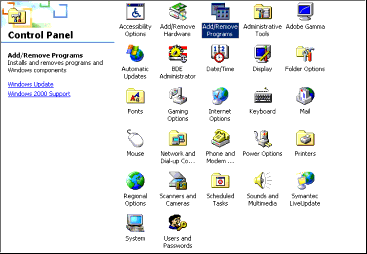
From the Control Panel, select the Add/Remove Software. The following screen will appear: Select LeasePak from the list of installed programs.
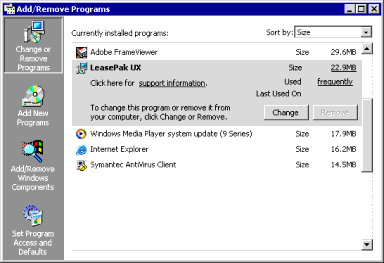
Click the Change button. Select the Change option. The installer will start and assist in the required modifications.
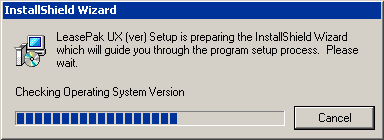
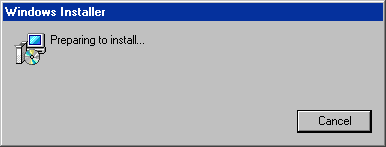
Select Next.
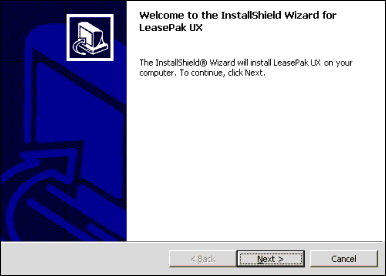
Modify/Repair/Remove dialog box.
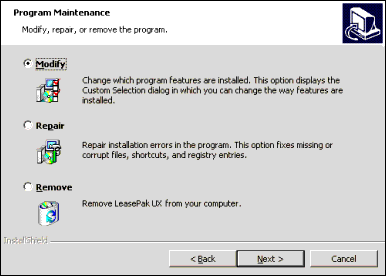
Select the Program Maintenance option desired. Click Next.
- Modify allows the user to add features that have not been installed.
- Repair allows the user to correct installation errors that may have been encountered.
- Remove allows the user to remove LeasePak from the hard drive.
This screen is displayed when the Modify maintenance option is selected. This option is used to add and/or remove program features via the Custom Setup installation option. Select the desired program to add and/or remove.
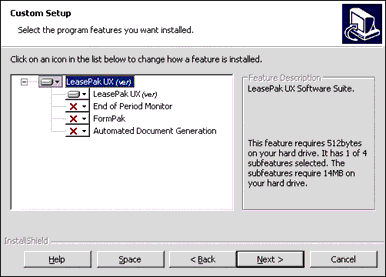
Copy down custom install components information.

Click Install.
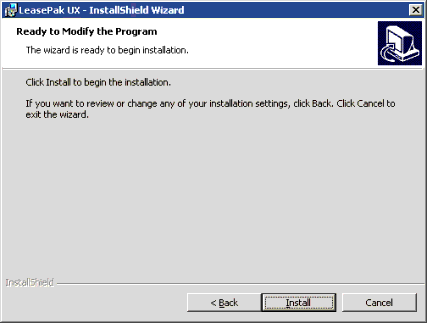
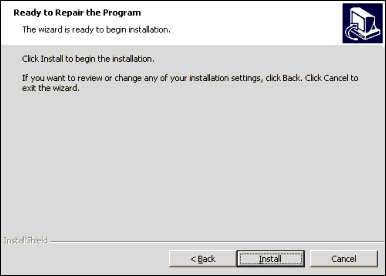
This screen is displayed when the Repair maintenance option is selected. This option is used to repair installation errors in the program. This option repairs missing, corrupt files, shortcuts and registry entries.
Click Install.
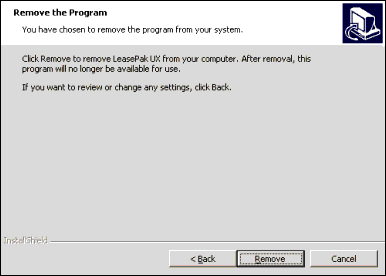
This screen is displayed when the Remove maintenance option is selected. This option completely removes LeasePak from the users computer.
Click Remove to continue.
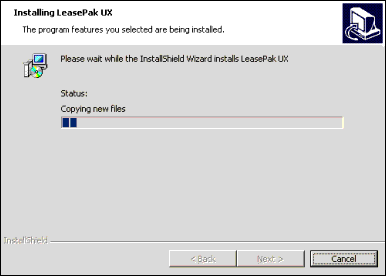
Restart machine.
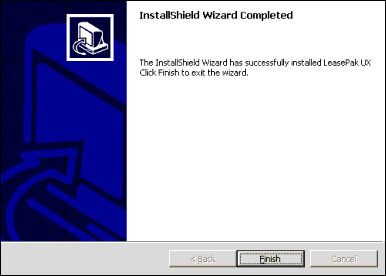
If the Modify or Remove option was selected, the screen displays the following message: "The InstallShield Wizard has successfully installed LeasePak (version number). Click Finish to exit the wizard." If the Remove option was selected, the screen displays the following message: "The InstallShield Wizard has successfully uninstalled LeasePak. Click Finish to exit the wizard."