LeasePak
 Oracle 9.2 Client
This document covers the installation and configuration of Oracle Net Manager 9.2 client software for use with LeasePak. The admin user or a user with administrative privileges must install and configure the software.
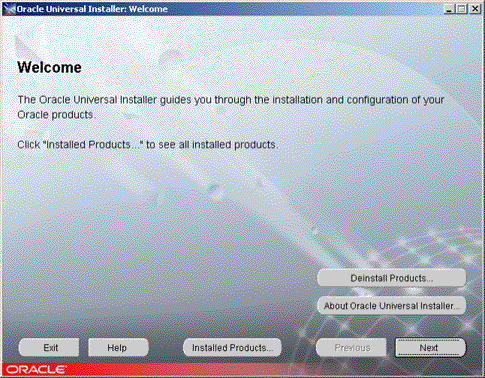
From the local, network, or CD location of the Oracle Universal Installer, start setup.exe. The installer will display the Welcome
window. Click Next.
In the File Locations window, enter the source and destination information, then click Next.
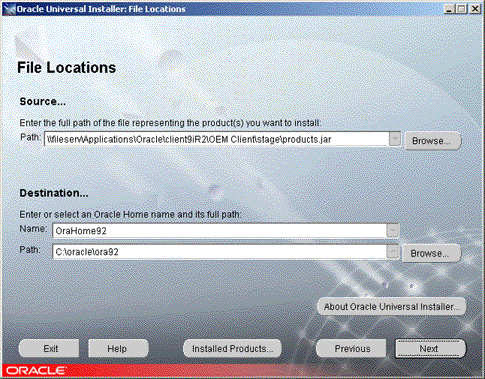
Field Descriptions
- Source Path
- The location of
products.jar. Accept the default, type the full path, or click Browse to select it. - Destination Name
- User-specified Oracle Home name. Accept the default or type a new name.
- Destination Path
- The location where the program will install Oracle Net Manager. Accept the default, type a new full path, or click Browse to select one.
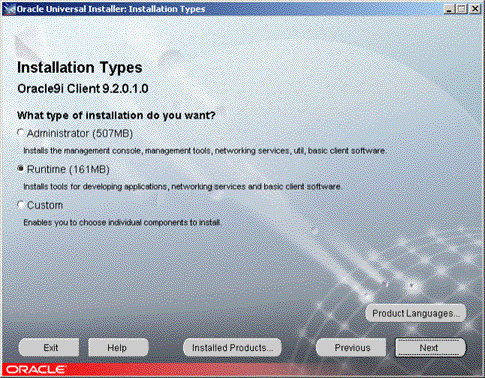
In the Installation Types window, select Runtime and click Next.
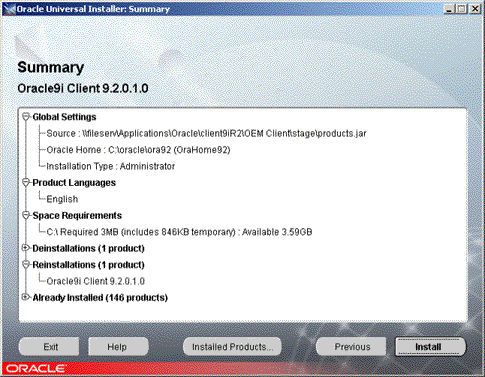
In the Summary window, click Install.
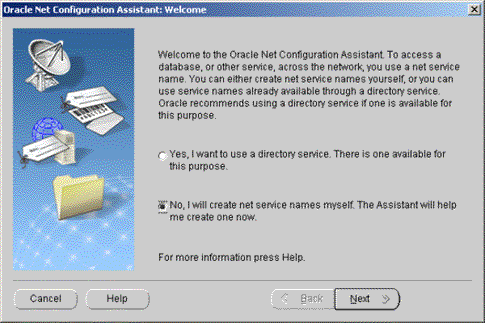
In the Oracle Net Configuration Assistant Welcome window, select No, I will create net service names myself and click Next.
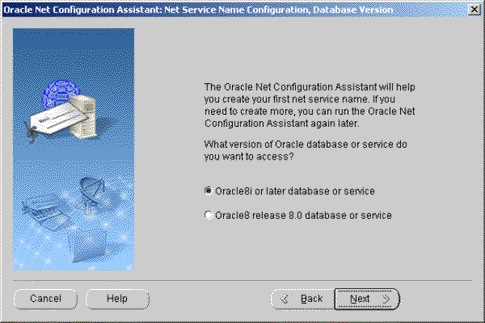
In the Net Service Name Configuration Database Version window, select Oracle 8i or later database or service and click Next.
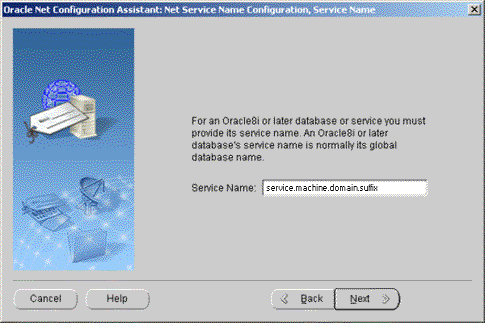
In the Net Service Name Configuration Service Name window, type the service name and click Next.
- Service Name
- The fully qualified URL for the service name of the Oracle DBMS server. The standard format is
service.machine.domain.suffix
where service is the service name as specified on the Oracle server, machine is the name of the host machine (Unix/Linux server name), domain is the domain of the host machine, and suffix is the suffix portion of the domain (such ascom,net, ororg).
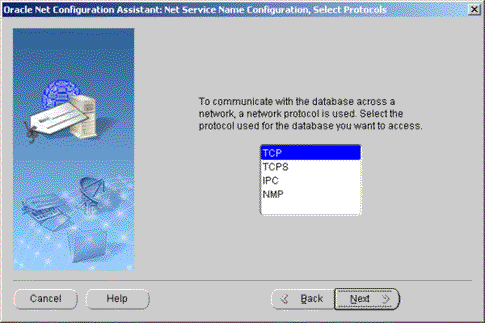
In the Net Service Name Configuration Select Protocols window, select TCP and click Next.
In the Net Service Name Configuration TCP/IP Protocol window, type the host name, select Use the standard port number of 1521, and click Next.
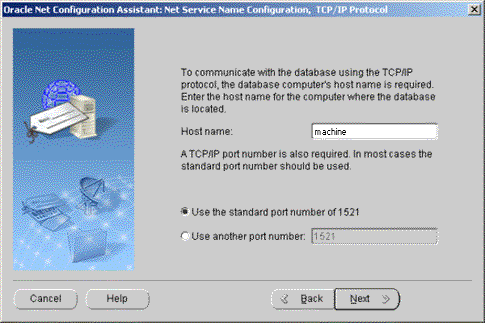
- Host name
- The name of the Oracle server host machine.
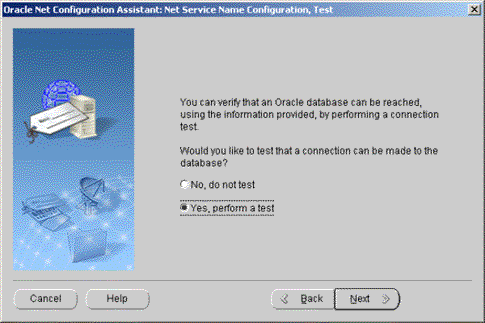
In the Net Service Name Configuration Test window, select Yes, perform a test and click Next.
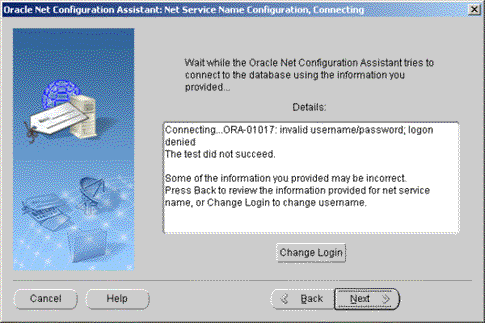
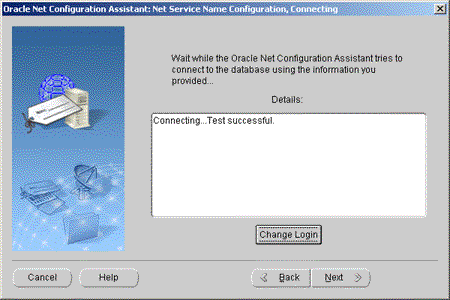
The initial test will fail. From the test results page, you must select Change Login and supply a valid user name and password as described below.
In the Net Service Name Configuration Connecting window, click Change Login.
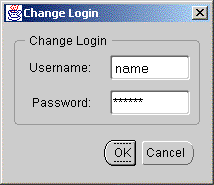
In the Change Login dialog box, type your user name and password, then click OK. The password field will display asterisks (*) in place of characters typed.
Field Descriptions
- Username
- Either your LeasePak or Oracle system account user name.
- Password
- Either your DBMS (used to log directly on the Oracle server) or Oracle system account password. For more information on the DBMS password, refer to the Passwords section of LeasePak Users.
After you click OK, the installer will re-test the connection.
When the installer reports a successful test (or if you decide to skip the test), click Next to continue.
In the Net Service Name Configuration Net Service Name window, type a net service name and click Next.
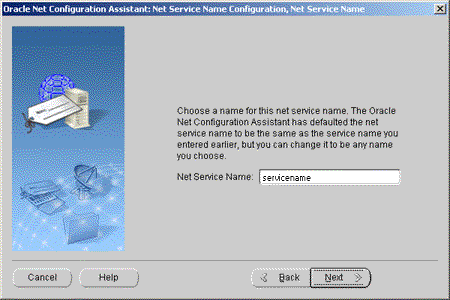
- Net Service Name
- The user-specified name for the configured net service. For simplicity, MSI recommends using the host machine name.
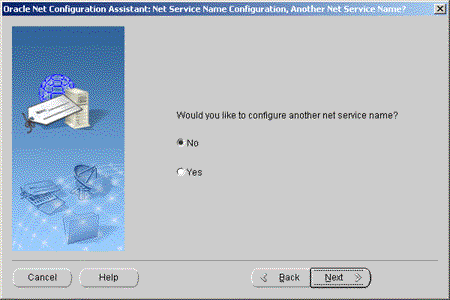
In the Net Service Name Configuration Another Net Service Name? window, select No and click Next.
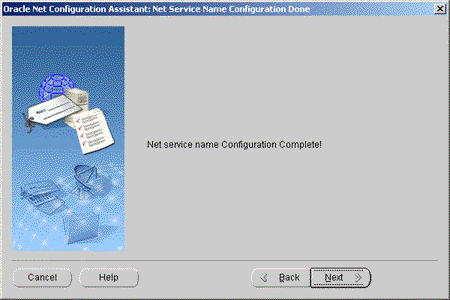
In the Net Service Name Configuration Done window, click Next.
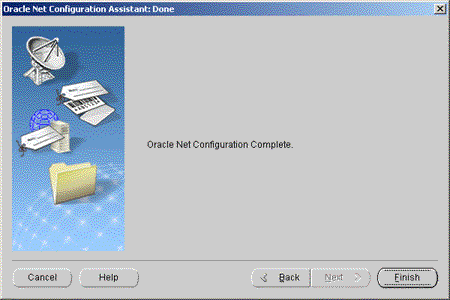
In the Net Configuration Assistant Done window, click Finish.
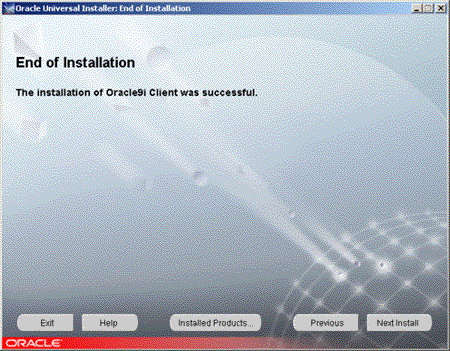
In the Oracle Universal Installer End of Installation window, click Exit to complete the installation.
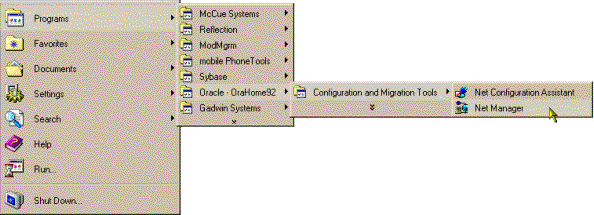
To verify the net service configuration, from the Start Menu select Programs, Oracle - OraHome92 (directory may contain your Oracle Home name instead), Configuration and Migration Tools, Net Manager.
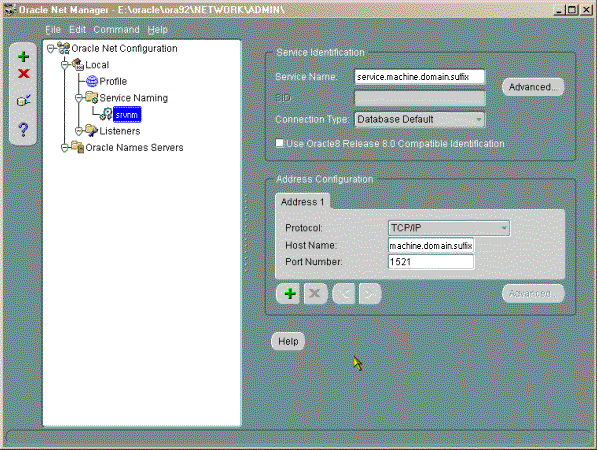
In the Oracle Net Manager window, expand Oracle Net Configuration, Local, Service Naming. Use the fields on the right to verify the service name, protocol, host name, and port number information.
Windows 2000, Windows XP
Multi-User Environment
When the Oracle client is installed on Windows 2000 or Windows XP in a multi-user environment, users other than the admin user may not initially be able to log onto LeasePak. They will see "connecting to server" then "connecting to database," but then they will get an error and LeasePak will close. If you encounter this problem, you will need to modify the permissions on the Oracle software sub folders.
First, log on the computer as admin. Locate the Oracle software folder, usually C:\oracle. Then locate the ora92 folder. Right click on this folder and select Properties, Security. In the Security window, select Authenticated Users. Under Permissions, check the Allow boxes for
- Modify
- Read & Execute
- List Folder Contents
- Read
- Write

LeasePak System Administration Guide
©
by McCue Systems Incorporated. All rights reserved.
The information contained in this document is the property of McCue Systems, Inc. Use of the information contained herein is restricted. Conditions of use are subject to change without notice. McCue Systems, Inc. assumes no liability for any inaccuracy that may appear in this document; the contents of this document do not constitute a promise or warranty. The software described in this document is furnished under license and may be used or copied only in accordance with the terms of said license. Unauthorized use, alteration, or reproduction of this document without the written consent of McCue Systems, Inc. is prohibited.